Loading...

Go live

Everything you've built so far has run on the free plan — perfect for learning, but capped and on shared capacity. Going live is one step: buy a subscription. That gives your search room to grow and the performance real traffic needs, and Search Stack runs all of it for you.

Buy a subscription

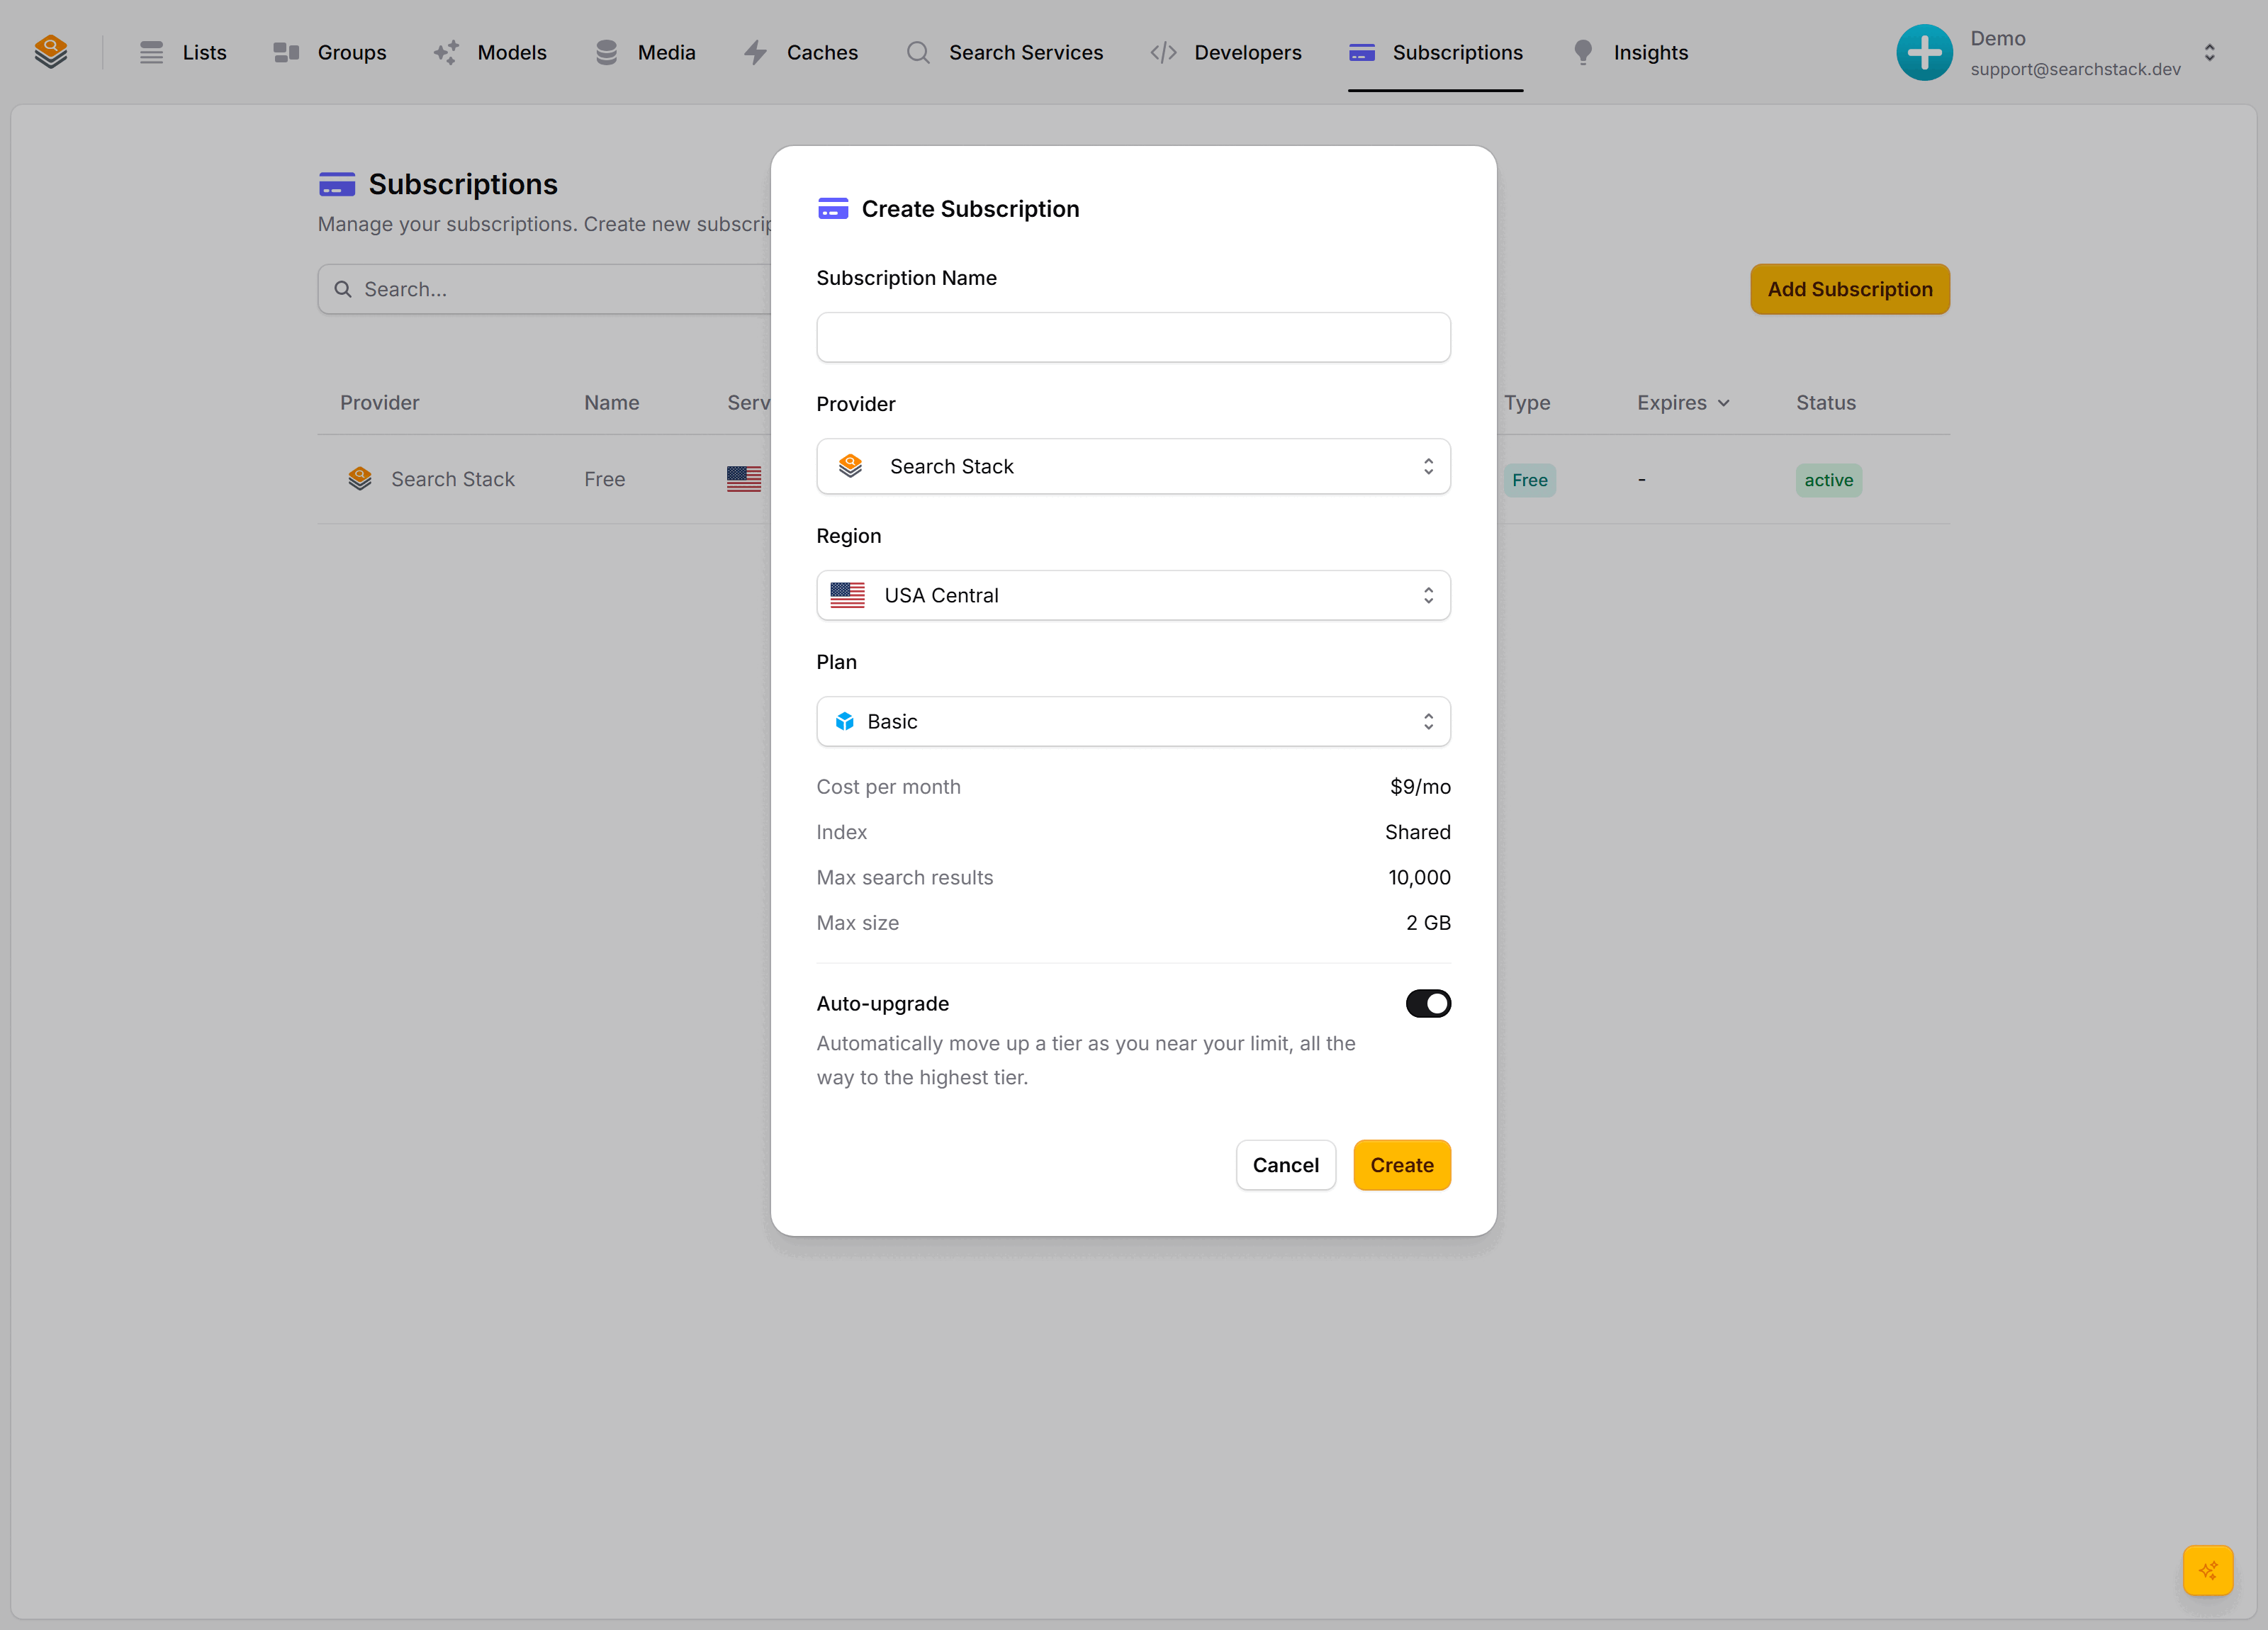
Go to Subscriptions and choose Add Subscription. Leave the provider on Search Stack — that's the fully-managed option — pick your region, and choose a plan for the capacity you need:

The Create Subscription dialog with provider Search Stack, a plan, monthly cost and capacity limits

Each plan spells out its cost, its search-result and storage limits, and whether it's on shared or dedicated capacity — here Basic is $9/mo for 10,000 results and 2 GB, and the tiers (Basic, Starter, Pro, Scale) step up from there. Turn on Auto-upgrade and Search Stack moves you up a tier automatically as you approach a limit, so a launch-day traffic spike never turns into an outage.

That's the whole "go live" step. There's no server to run and no infrastructure to manage — Search Stack hosts it.

Move your lists onto it

Point your movies, actors and cinemas lists at the new subscription (each list's Options → Change Subscription). The best part: their search addresses don't changehttps://api.searchstack.dev/search/Demo/movies/1 works before and after. Your live site, your autocomplete box, your apps carry on untouched; the data is simply served from your paid capacity now.

Optional: bring your own search (BYO)

Most people never need this. But if your company already runs its own search infrastructure — or policy requires the data stay in your own cloud — you can host a subscription on it instead of on Search Stack. That's a BYO subscription: when you create it, set the Provider to your platform rather than Search Stack.

The subscription Provider dropdown: Search Stack, Azure AI Search, Elasticsearch, Amazon OpenSearch, PostgreSQL

This is the only case where you set up a search service first. Before creating a BYO subscription, go to Search Services, choose Add Search Service, and connect the one your team runs:

The Add Search Service menu showing Azure AI Search, Amazon OpenSearch, Elasticsearch and PostgreSQL
  • Azure AI Search
  • Amazon OpenSearch
  • Elasticsearch
  • PostgreSQL

Then pick it as the provider when you add the subscription. Either way — managed or BYO — Search Stack keeps managing your schema, versioning, and the same friendly API; only where the data lives differs.

Launch checklist

Before you flip the switch on the movie-night site:

  1. Add a paid subscription under Subscriptions (Search Stack provider — or a BYO provider if you connected a search service first).
  2. Move your movies, actors and cinemas lists onto it.
  3. Confirm search still returns results — same URLs, now on your paid capacity.
  4. Consider turning on Auto-upgrade so a traffic spike can't hit a wall.
  5. Pin the versions your apps depend on (see Versioning).
  6. Review who has access — remove any contributors who no longer need it.
  7. Rotate the API keys you used while building, and ship a read-only key in your front-end.

That's the journey — from an empty account to a production search box on a paid subscription. There's one more page worth a look: driving all of this from Claude and code.

The BYO provider options, capacity and region details are covered in the Search servers reference.

« Contributors
Next — Use with Claude »
Drive Search Stack from Claude and code.
Top